Cursor IDE
Cursor is an AI-powered code editor built on VS Code. FloTorch integrates seamlessly with Cursor IDE using its native support for OpenAI-compatible APIs. This allows you to connect Cursor directly to the FloTorch Gateway by configuring the gateway URL, API key, and your custom model name.
Prerequisites
Section titled “Prerequisites”Before configuring Cursor, complete these steps in the FloTorch Console:
-
Register or log in to FloTorch
- Go to the FloTorch Console and create an account or sign in.
-
Create a custom model
- In the Console, go to Gateway → Model Registry → Models and create a model with your preferred configuration.
- Note the model name (e.g.
flotorch/<model-name>).
-
Create an API key
- Go to Workspace → Settings → API Keys and create an API key.
- Copy and store the key securely; you will need it when configuring Cursor.
-
Cursor paid account
- Adding custom models in Cursor requires a paid account (Pro or Business). This feature is not available on the free plan. Upgrade at Cursor Pricing to enable this option.
Native FloTorch Configuration in Cursor
Section titled “Native FloTorch Configuration in Cursor”Cursor provides built-in support for custom AI models through its Settings interface. You can configure FloTorch directly without installing any additional extensions.
Setup Steps
Section titled “Setup Steps”-
Open Cursor Settings
- Navigate to Models
-
Configure OpenAI settings:
- Enable OpenAI API Key and enter your FloTorch API key (Create API Key)
- Enable Override OpenAI Base URL and set it to:
https://gateway.flotorch.cloud/openai/v1
-
Add a new model:
- In the model search box, type your FloTorch custom model name (Create Model)
- The configuration is saved automatically
-
Select the FloTorch Model
- Open Cursor’s AI Chat panel
- Click the model selector dropdown
- Select your configured FloTorch model

Alternative: Using OpenAI-Compatible Extensions
Section titled “Alternative: Using OpenAI-Compatible Extensions”Since Cursor is built on VS Code, it supports VS Code extensions. Any extension that supports OpenAI-compatible APIs can be configured to work with FloTorch.
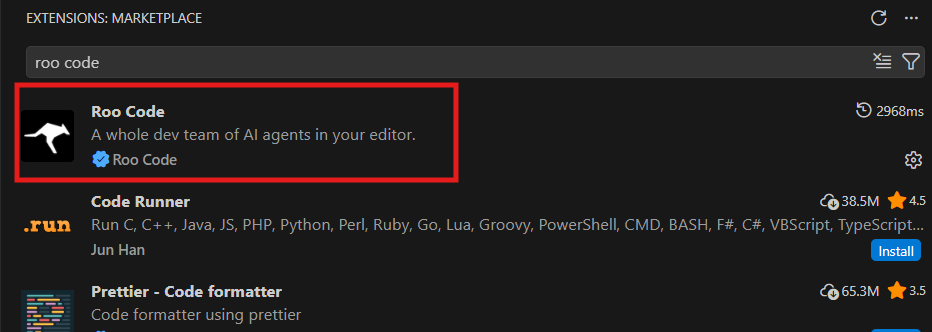
1. Roo Code
Section titled “1. Roo Code”Extension: Roo Code
Setup Steps
Section titled “Setup Steps”- Open Extensions in Cursor and install Roo Code, or install directly from the marketplace.
- Open Roo Code (sidebar or panel).
- Create a Roo Code account and redirect to Cursor.
- Navigate to Settings → Providers.
- Under API Provider, select OpenAI Compatible.
- Configure:
- Base URL:
https://gateway.flotorch.cloud/openai/v1 - API Key: Your FloTorch API key (Create API Key)
- Model ID: Your FloTorch custom model name (Create Model)
- Base URL:
- Save the settings and select the model for chat and code actions.
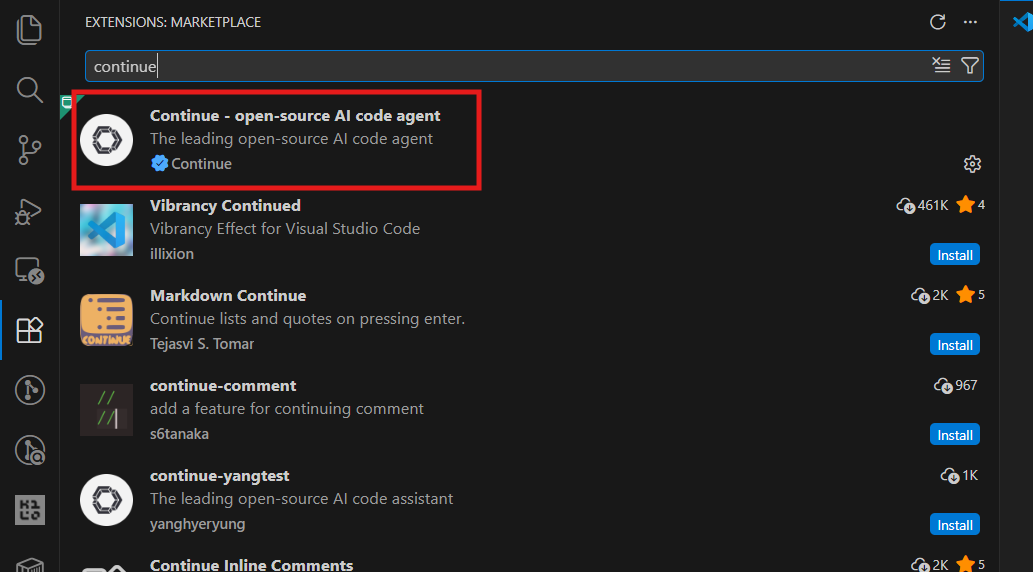
2. Continue
Section titled “2. Continue”Extension: Continue
Setup Steps
Section titled “Setup Steps”- Install Continue from the Extensions Marketplace, or install directly from the marketplace.
- Open Continue (from the sidebar or Command Palette).
- Navigate to Settings → Configs.
- Open Local Config (this opens
configs.yaml). - Add the FloTorch model configuration:
name: Local Configversion: 1.0.0schema: v1models: - name: FloTorch Gateway provider: openai model: YOUR_FLOTORCH_MODEL_NAME apiBase: https://gateway.flotorch.cloud/openai/v1 apiKey: YOUR_FLOTORCH_API_KEY roles: - chat - edit - apply- Replace
YOUR_FLOTORCH_MODEL_NAME(Create Model) andYOUR_FLOTORCH_API_KEY(Create API Key) with your actual values, save, and select this model in Continue.

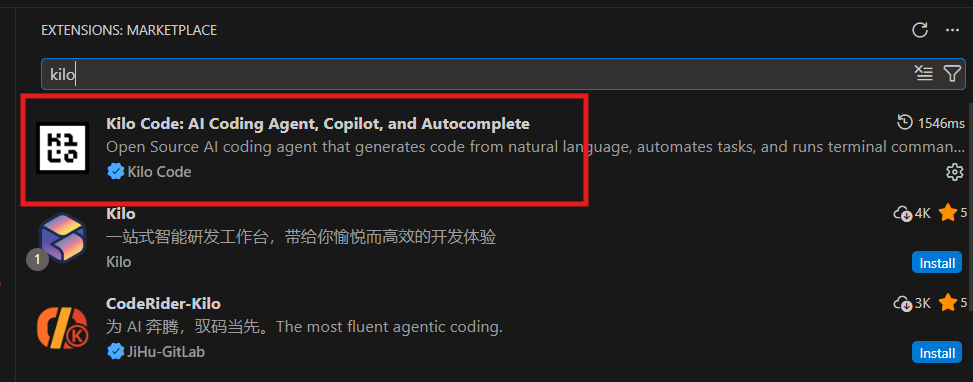
3. Kilo
Section titled “3. Kilo”Extension: Kilo
Setup Steps
Section titled “Setup Steps”- Open Extensions in Cursor.
- Search for Kilo in the Extensions Marketplace and install it, or install directly from the marketplace.
- Open Kilo (from the sidebar or Command Palette).
- Navigate to Settings → Providers.
- Under API Provider, select OpenAI Compatible.
- Configure:
- Base URL / Endpoint:
https://gateway.flotorch.cloud/openai/v1 - API Key: Your FloTorch API key (Create API Key)
- Model: Your FloTorch custom model name (Create Model)
- Base URL / Endpoint:
- Save and start using the model in Kilo.
Summary
Section titled “Summary”FloTorch integrates with Cursor IDE both natively and through OpenAI-compatible extensions. Use the native configuration for the simplest setup, or install any of the extensions above (Roo Code, Continue, Kilo) with the same FloTorch gateway URL, API key, and model name. Other OpenAI-compatible extensions—such as Cline, vscode-openai, and similar tools that let you set a custom base URL, API key, and model—also work in Cursor.